Showing posts with label DMK Artisan Jewelry. Show all posts

Tuesday, June 30, 2015

Which Glue To Use For Kumihimo Glue In End Caps & Clasps


Over the years I have used many different types of glue for my glue in jewelry end caps and clasps from E6000 to SuperGlue To HypoCement to 5 Minute 2 Part Epoxy.  Quite frankly I got tired of searching for the right size, spending time to bulk up braid ends to fit in end caps/clasps, waiting forever for the glue to dry and praying that the glue held.  While some are quick and easy to work with, I was not impressed with the results.

One day after making this really cool looking Kumihimo bracelet, I was just not satisfied with the clasp that I used. I thought to myself there are so many cool looking clasps out there and I want to be using them.  However the glue I was using was not going to work with them. I spoke to others who were using these cool looking clasps, and the consensus was the same about which glue they used. Everyone came back with 5 Minute 2 Part Epoxy.  

My first reaction was how difficult is this actually going to be?  Do I need supervision to use it?  Let's just say that there are certain things I'm not allowed to play with by myself.  Fire, knives, SuperGlue, and electricity just to name a few.  

I went to the local hardware store and picked myself up Clear 5 Minute 2 Part Epoxy. The one I purchased has the syringe.  While you can work with this, I do recommend finding one that has 2 separate tubes. Brands on this make no difference.


Here are easy instructions on how to use it:


Measure the inside of the end cap/clasp. Trim your ends of the unbeaded braid with a Thread Burner to match those measurements. The Thread Burner will seal those ends requiring no addition chemicals to be used.


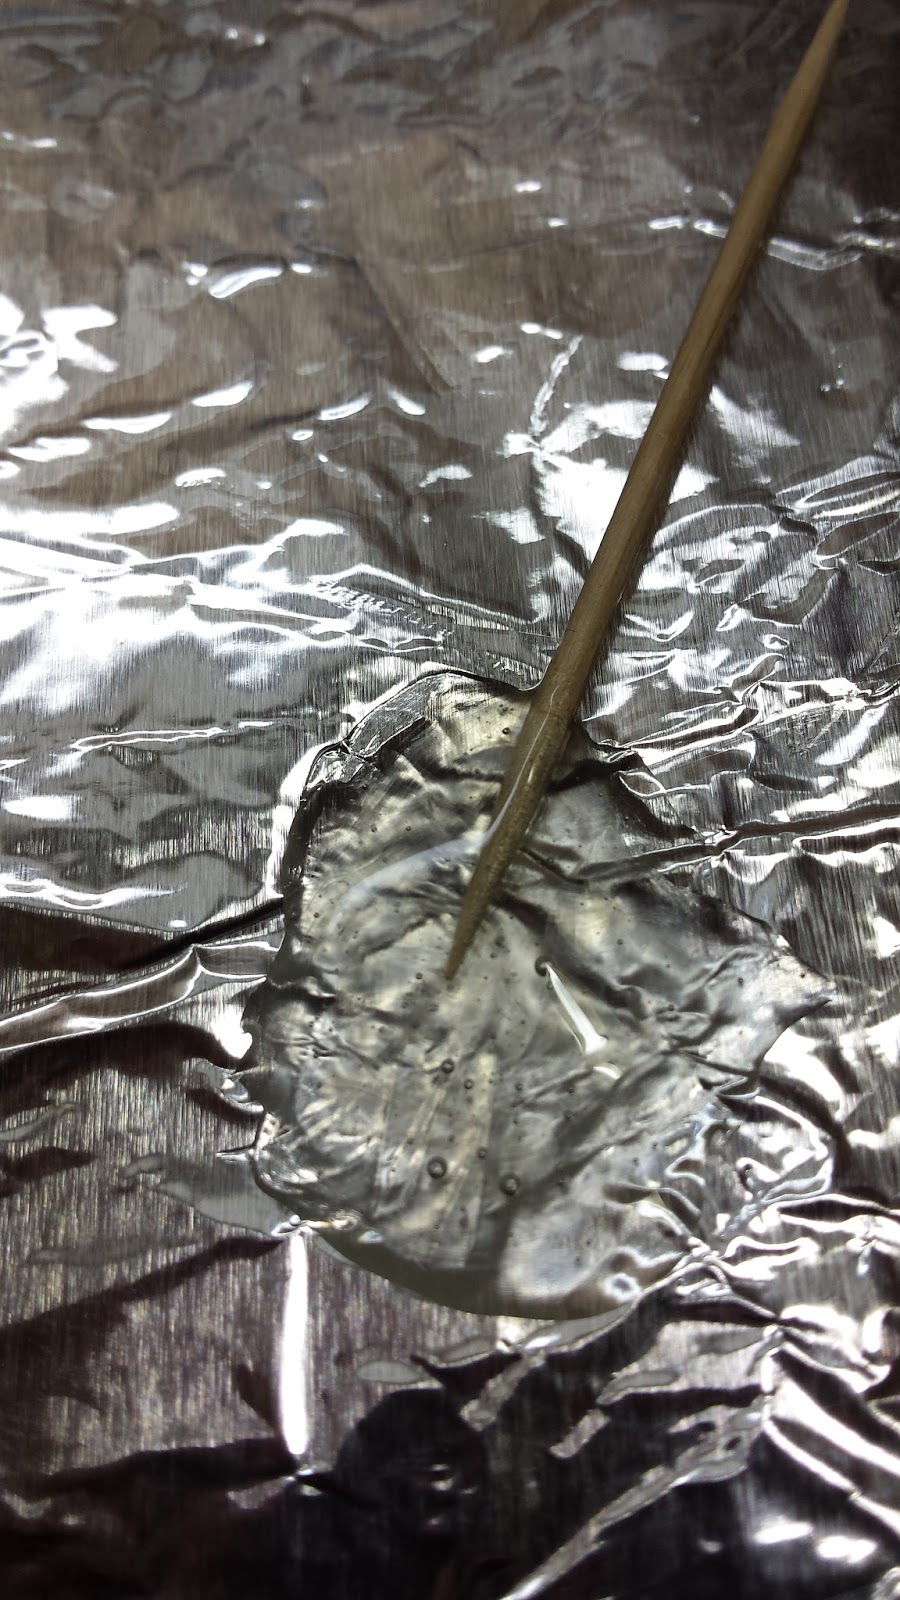
On a piece of aluminum foil place two equal parts of epoxy. Mix them together with a toothpick. 


Take the toothpick with epoxy on it, fill the clasp end approximately 2/3 full, covering all insides of the end cap/clasp. Place a small portion of the epoxy around the unbeaded braid portion making sure not to get any on the beads.

Place the braid in the clasp centering it, wiping off any excess epoxy with a paper towel.
Hold in place for a few minutes. (I like to use my vise and a "helping hand" for this portion.) You will feel the epoxy starting to harden at which time you may set it aside to finish curing for 24 hours.


Bottom line for using 5 Minute 2 Part Epoxy is this. It offers you NO MORE WORRIES. No more worries is it the right size. No more bulking up ends of braids to fit snugly in clasp ends. No more waiting forever for glue to dry. No more worries is it going to hold. The epoxy fills in the vacant areas of the clasp where no braid exists and acts like cement offering a permanent hold.

By using epoxy, you can buy whatever type of end cap/clasp you love and make that jewelry piece look as stunning as you want it to be.


Enjoy your Braiding Journey!
Deborah Shipp
DMK Artisan Jewelry


Wednesday, June 10, 2015

Kumihimo 8 Element/Warp Kongoh Gumi Z-Spiral Instructions

The Kumihimo 8 Element/Warp Kongoh Gumi Z-Spiral Braid has many different names.  It is referred to as the basic round braid, spiral braid, round spiral braid, basic kumihimo braid and many many more. Thousands of different types of braids made on different types of dai, makeup Kumihimo Braids.  Braid shape descriptions are commonly used to describe them.  The first braid that most are familar with in Kumihimo is the 8 Element/Warp Kongoh Gumi Z-Spiral Braid.  It is also the most common braid structure that is used to create Beaded Kumihimo Braids, because the braid structure supports beads being placed on all 8 elements/warps.

Below you will find instructions to create the 8 Element/Warp Kongoh Gumi Z-Spiral on either the marudai or disk.


This diagram is the actual braid instructions for the 8 Element/Warp Kongoh Gumi Z-Spiral for the marudai.  This braid consists of 8 tama, that are moved in pairs.  There are two sequences that create this braid.  The first sequence is to move the north/south tama at the same time by moving the south left tama to the north left position, and the north right tama to the south right position.  The second sequence is to move east/west tama at the same time by moving the top west tama to the top east position and the bottom east tama to the bottom west position.  These sequences are repeated until the desired braid length is reached.

Below you will find instructions on how to create the 8 Element/Warp Kongoh Gumi Z-Spiral on the disk.
Since the development of the Kumihimo Disk, many have developed different ways to braid the 8 Element/Warp Kongoh Gumi Z-Spiral on the disk to make it easier for them.  The facts to create this braid are:  the north/south tama/bobbins are moved first, the east/west tama/bobbins are moved second, the south left cord move up, the north right cord moves down, the top west cord moves east and the east bottom cord moves west.  As long as you follow these sequences you will braid a successful 8 Element/Warp Kongoh Gumi Z-Spiral with fiber or beads.

Enjoy your braiding journey,
Deborah Shipp
DMK Artisan Jewelry